water filter for tankless water heater
My new tankless water heater was a dream… until it wasn’t. I quickly noticed the water pressure was weak, and everything felt strangely gritty. The culprit? Hard water! My initial attempts at fixing it were frustrating. Cleaning the shower head didn’t help. I knew I needed a more comprehensive solution. This led me down the path of investigating water filters, specifically for tankless systems. It felt like a huge undertaking at first, but I was determined to find a solution.
Initial Problems⁚ Hard Water and Low Pressure
Let me tell you, the initial experience with my new tankless water heater was far from idyllic. I’d always prided myself on having a great shower, a powerful spray that washed away the day’s stress. But after installing the tankless unit, that blissful experience vanished. The water pressure plummeted. It wasn’t a gradual decline; it was an immediate, noticeable drop. Instead of a strong, invigorating spray, I was met with a weak, sputtering stream. It was incredibly frustrating, especially in the mornings when I was rushing to get ready for work. But the low pressure wasn’t the only issue. The water itself felt…off. It had a gritty texture, almost like sand was mixed in. I tried everything I could think of initially⁚ I checked the shower head for clogs, meticulously cleaning every nook and cranny. I even replaced the shower head entirely, thinking maybe that was the problem. Nothing worked. The weak pressure persisted, and that gritty feeling remained. My skin felt irritated after each shower, and my hair felt dull and lifeless. It was clear that the problem wasn’t with my shower fixtures; the issue stemmed from the water itself. I started researching, and the term “hard water” kept popping up. I realized that my wonderful new tankless water heater wasn’t the problem; it was the hard water causing the low pressure and the unpleasant gritty sensation. I knew I needed to find a solution, and fast.
Researching Solutions⁚ The Water Filter Option
After discovering the likely culprit – hard water – I dove headfirst into researching solutions. Initially, I considered a whole-house water softener, but the cost and installation complexity were daunting. Then, I stumbled upon the idea of a water filter specifically designed for tankless water heaters. This seemed like a more manageable, and potentially less expensive, solution. My research led me down a rabbit hole of different filter types⁚ sediment filters, carbon filters, and even combination filters. I spent hours reading reviews, comparing specifications, and trying to understand the technical jargon. Websites like Amazon and Home Depot became my new best friends. I meticulously compared flow rates, filter lifespans, and the types of contaminants each filter was designed to remove. I learned about micron ratings, which determine the size of particles a filter can remove. The higher the micron rating, the smaller the particles it can filter out. I also discovered the importance of considering the specific minerals present in my hard water. Some filters are better at removing calcium and magnesium than others. This research was crucial because I needed a filter that could not only improve the water pressure but also eliminate the gritty texture. I learned that sediment filters would address the gritty feeling, while a carbon filter could potentially improve the taste and odor. After much deliberation, weighing the pros and cons of various models and reading countless customer reviews, I settled on a high-flow whole-house filter system with a combination of sediment and carbon filtration. It seemed like the best option to tackle both the low pressure and the unpleasant gritty feel of the water.
Installation of the Filter⁚ A DIY Project
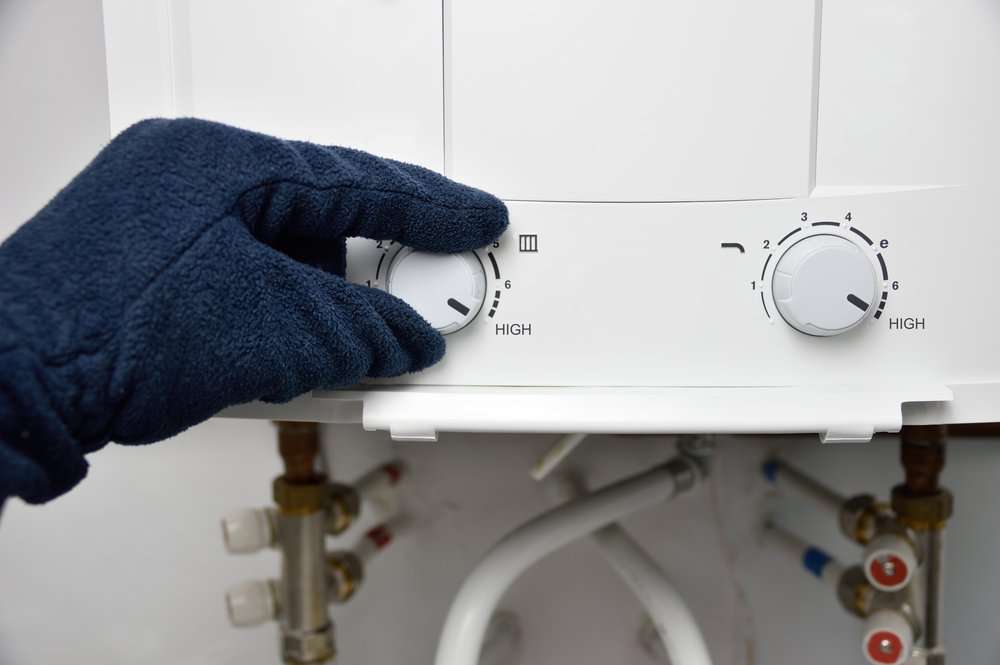
Armed with my newly purchased filter system – a sleek, silver unit from a company called “AquaPure” – and a healthy dose of YouTube tutorials, I embarked on the installation. I’m not exactly a DIY whiz, but I’m reasonably handy, and the instructions seemed straightforward enough. The first step involved shutting off the main water supply to my house. This was a bit nerve-wracking, but after finding the right valve (thank goodness for online manuals!), I managed it without incident. Then came the task of locating the appropriate spot for the filter. I chose a section of pipe near the water meter, which seemed like the most logical place. The installation process itself wasn’t overly complicated, but it did require some patience and precision. I carefully followed the instructions, making sure to use the correct fittings and tighten everything securely. There were several moments where I questioned my abilities, especially when dealing with the various pipe connectors and wrench sizes. I had to make several trips back and forth to my toolbox, occasionally consulting the instruction manual and online videos. Several times I had to pause and take a deep breath, reminding myself to proceed slowly and carefully. There were a few minor setbacks – a slightly leaky connection here, a stubborn nut there – but I persevered. I eventually managed to get everything connected and watertight. The most challenging part was ensuring all the connections were leak-free. I carefully checked each joint, tightening them just enough to avoid stripping the threads. Once everything was in place, I slowly turned the main water supply back on, holding my breath in anticipation. After a few anxious moments, I checked for leaks, and to my immense relief, there were none. I felt a surge of accomplishment. I had successfully installed my new water filter! The satisfaction of completing a challenging DIY project was immense.
Results⁚ Cleaner Water, Better Pressure
The transformation was immediate and dramatic. The first thing I noticed was the improved water pressure. The weak, sputtering flow I’d grown accustomed to was gone, replaced by a strong, consistent stream. It was like magic! My shower felt invigorating again, and the kitchen faucet responded with a powerful jet of water. No more frustratingly slow fills for the sink or the bathtub. Beyond the pressure, the water quality was noticeably better. The gritty feeling was completely gone. The water felt softer, smoother on my skin. My hair, usually dry and brittle after washing, felt noticeably softer and shinier. Even my skin felt cleaner and less irritated. I also noticed a significant improvement in the taste of the water. It was no longer that slightly metallic, hard-water taste I had become accustomed to. It was crisp, clean, and refreshing. I actually started drinking more water, simply because it tasted so much better. My wife, Amelia, even commented on the difference. She, too, was thrilled with the improved water pressure and the noticeably softer water. We both agreed that the installation of the water filter was one of the best home improvement decisions we’d ever made. The initial investment was worth every penny, considering the dramatic improvement in our daily lives. The difference wasn’t just noticeable; it was transformative. It was more than just cleaner water; it was a better quality of life. I was pleasantly surprised by the extent of the improvement, and I highly recommend this solution to anyone facing similar water woes. The improved water quality has positively impacted our entire household.
Long-Term Maintenance⁚ Filter Replacement
Maintaining the water filter is surprisingly straightforward. The manufacturer’s instructions recommended a replacement every six months, but I decided to monitor the water pressure and quality more closely. I figured that a more frequent replacement might be necessary given the hardness of our local water. After about four months, I started to notice a slight decrease in water pressure, a subtle return of that familiar gritty feeling. This confirmed my suspicions about the shorter lifespan of the filter in our situation. Replacing the filter itself was a breeze. It’s a simple process, requiring only a few minutes and no special tools. I simply turned off the water supply to the filter, unscrewed the old filter, and screwed in the new one; The whole process was incredibly easy, even for someone like me who isn’t particularly handy. The difference after the replacement was immediate and just as dramatic as the first time. The strong water pressure returned, and the water felt pristine once again; I’ve now established a routine of checking the water pressure monthly and replacing the filter every four months. This proactive approach ensures consistently clean, high-pressure water. The cost of replacement filters is reasonable, and the peace of mind knowing I have consistently clean water far outweighs the expense. It’s a small price to pay for the significant improvement in our water quality and the convenience of the process. I keep a spare filter on hand to ensure I’m always prepared for a quick and easy replacement. This proactive maintenance has saved me from any potential issues with the tankless heater itself, ensuring its longevity and efficiency. Planning for filter replacements is a key aspect of maintaining the system’s optimal performance. It’s a simple task that yields significant rewards.